How to import files into darktable
If you try using darktable 3.6 and previously been using older versions then you may be confused. In lighttable, import pane there are two buttons instead of one. Below you can find a little explanation.
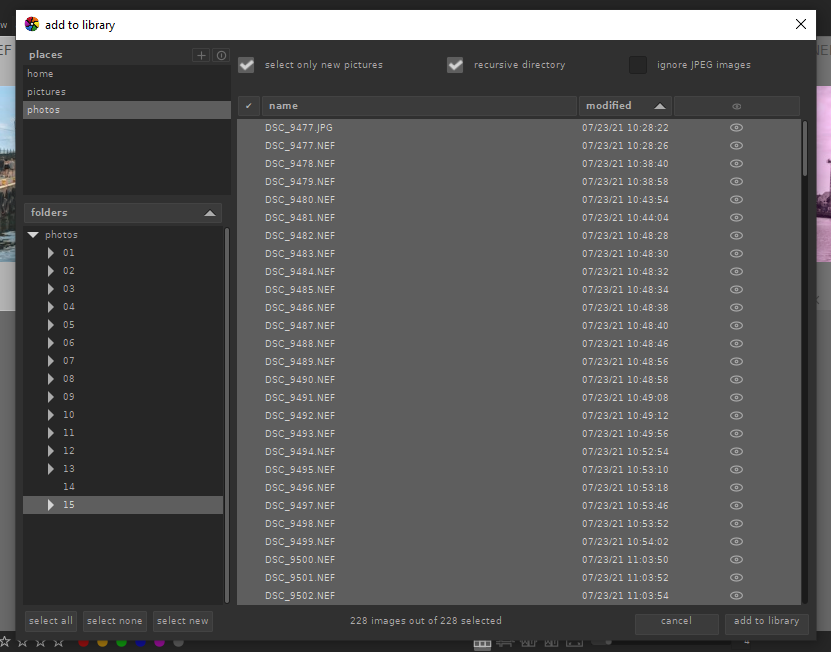
1. Add to library
By selecting “add to library” you just collect selected pictures instead of physically copying them. Be sure to check settings, storage, xmp, “write sidecar file each image”. For long time I used this setting to write these xmp files, but recently I decided to skip that option. That way the only option to move around picture with its processing settings is either to export it as JPEG (or other “developed” format) or move whole darktable stuff (database etc.).

2. Select folder
Once you decided if you want to add or copy files as well as to check if you would like to write sidecar xmp files, then step is to select which folder (and files) you would like to consider. Check “recursive directory” and default if you would like to process only RAW files, skipping JPEGs. I import both RAW and JPEGs as most of the time I take both RAW and JPEG at the same time. RAW for full processing and JPEG to quick overview.

Remember that after you press “add to library”, darktable may be a little unresponsive. Be sure to check import progress on the darktable icon. In older versions, darktable been showing import progress on bottom left, but in current versions I could not see this anymore.