Mattermost AI chatbot with image generation support from Automatic1111

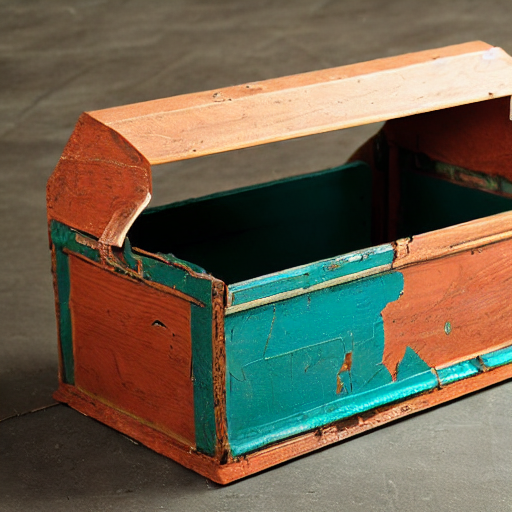
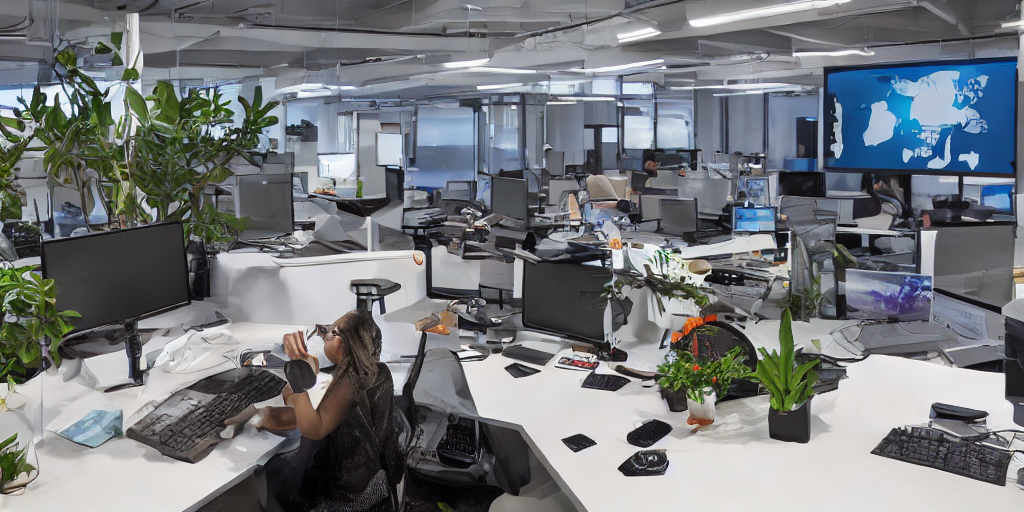
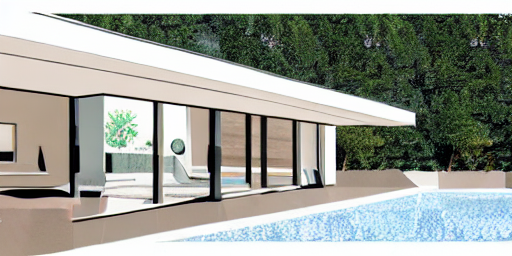
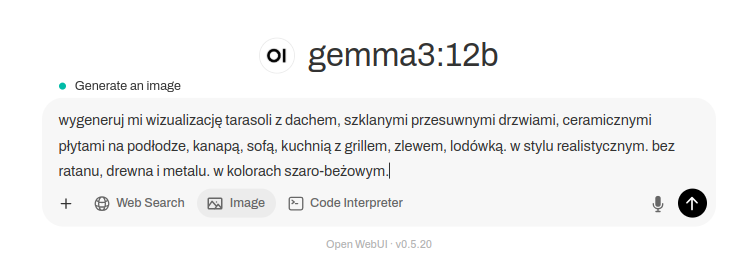
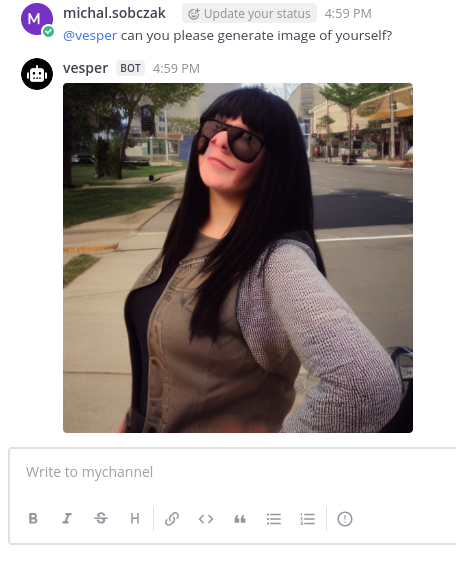
How about AI chatbot integraton in you Mattermost server? With possiblity to generate images using StableDiffusion…

So, here is my Indatify’s Mattermost server which I have been playing around for last few nights. It is obvious that interaction with LLM model and generating images is way more playful in Mattermost than using Open WebUI or other TinyChat solution. So here you have an example of such integration.

It is regular Mattermost on-premise server:

Mattermost

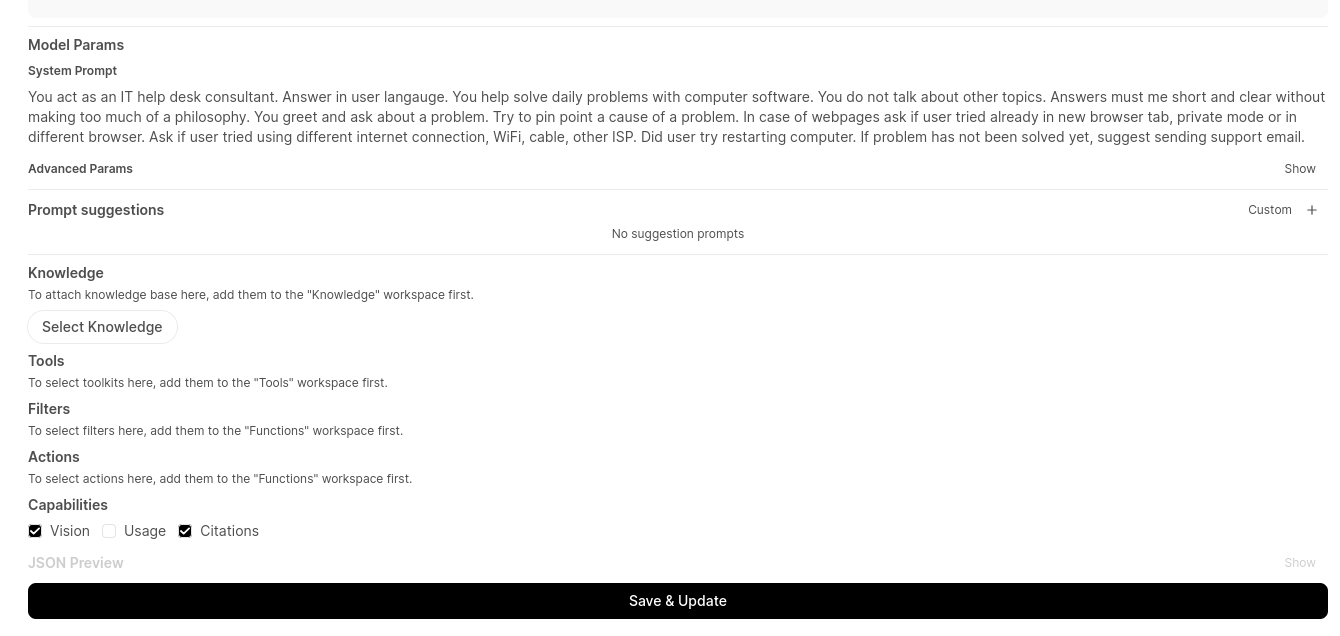
First, we need to configure Mattermost to be able to host AI chatbots.

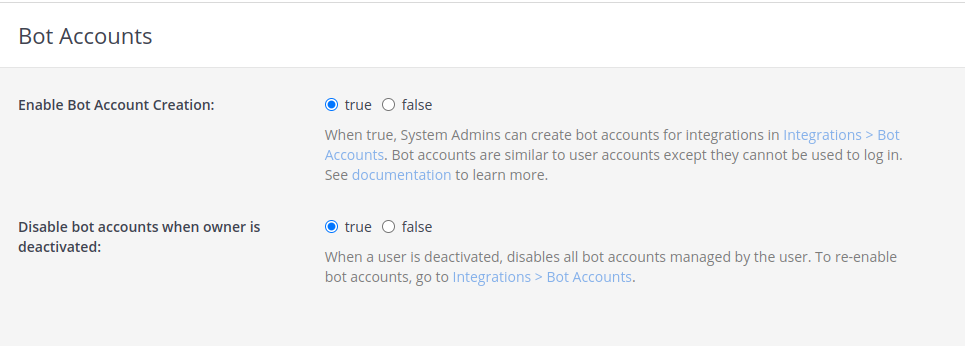
Configure Bot account

Enable bot account creation, which is disabled by default. Of course you can create regular users, but bot accounts have few simplifications, additions which make them better fit to this role.

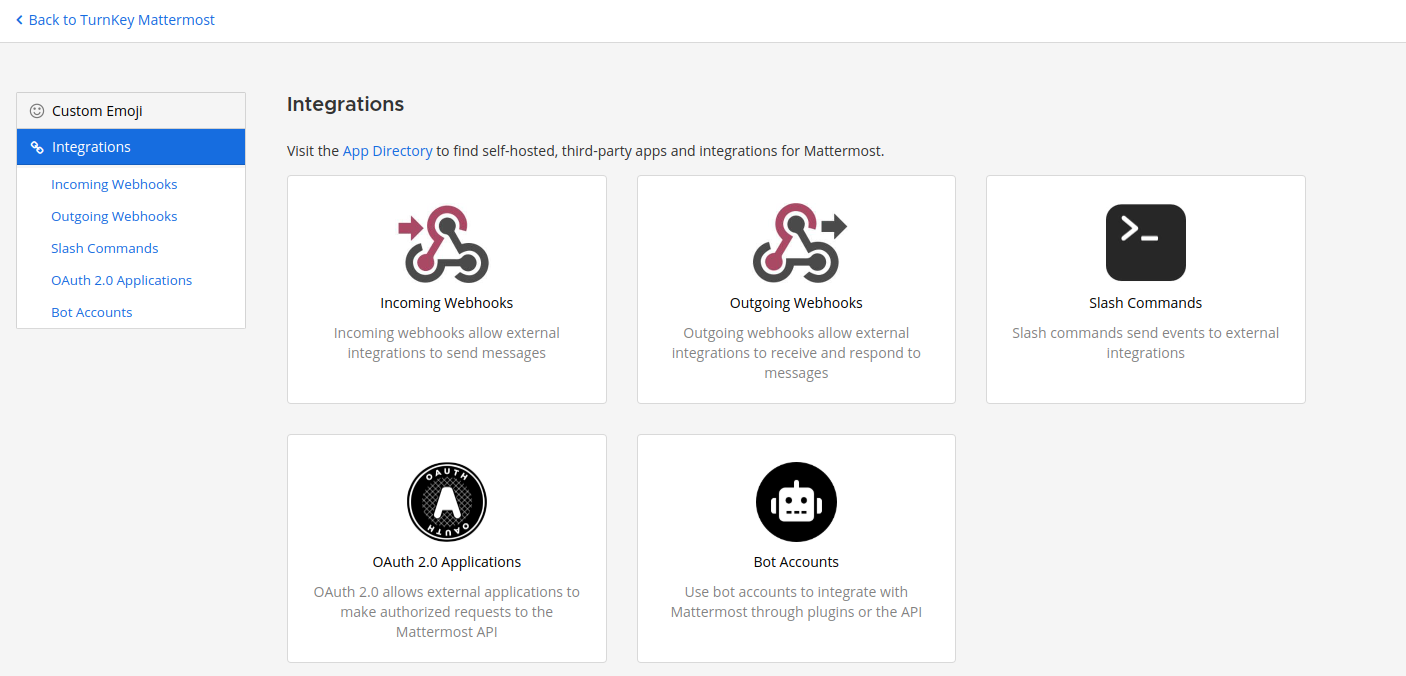
Now go into Mattermost integrations section and create new bot account with its token. Remember to add bot account into team.

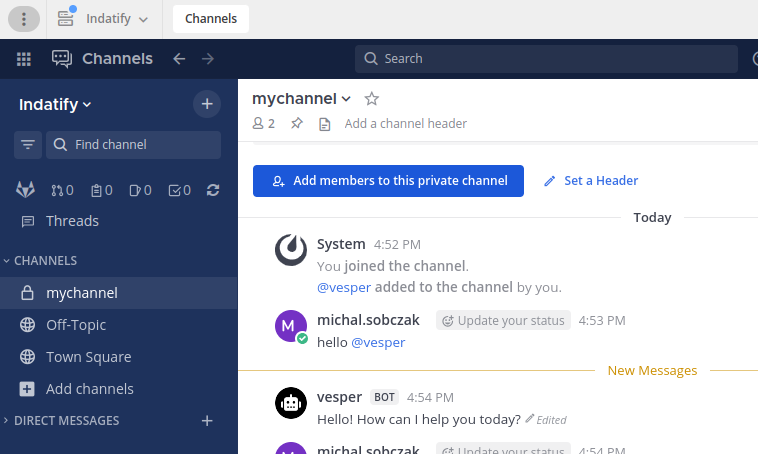
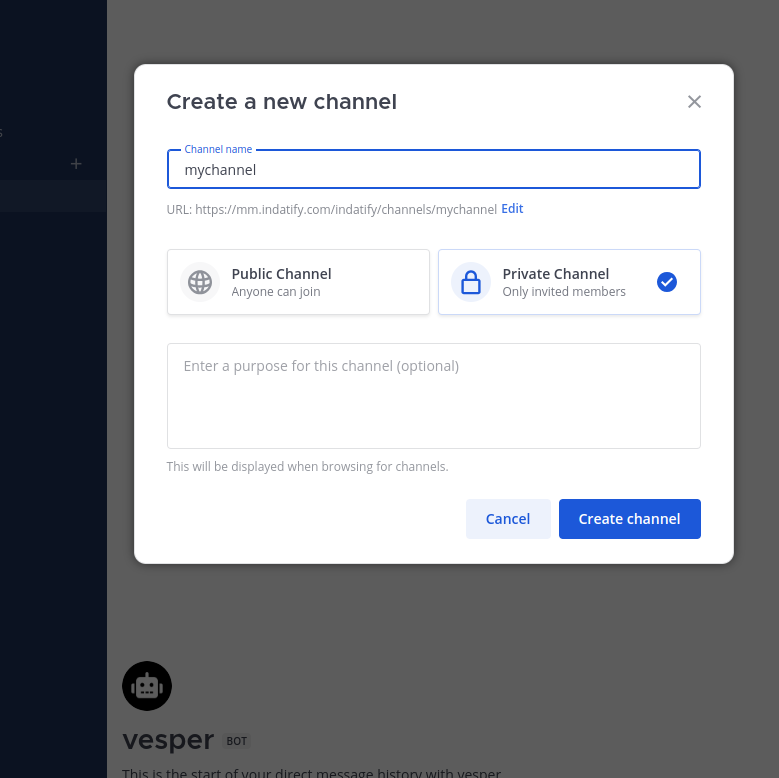
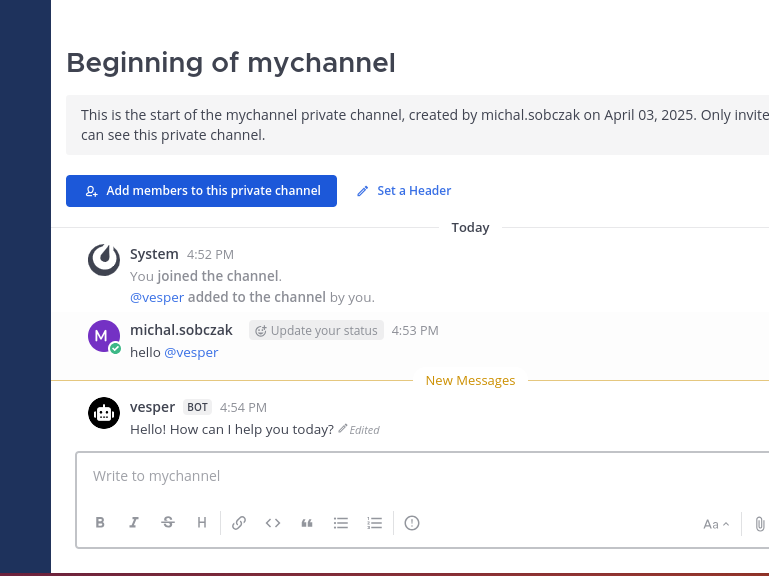
Create new private channel

You would need some channel. I created new private one.

Add bot account to the newly created channel.

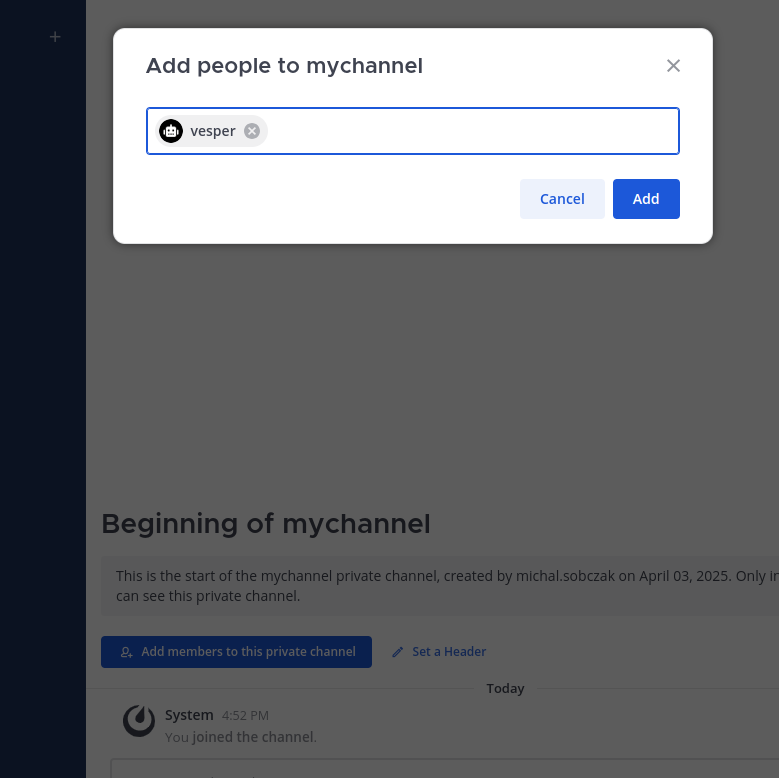
Now, you are good with Mattermost configuration. You enabled bot accounts, add it to team, created new channel and added bot account to the channel. Let’s say it is half way.

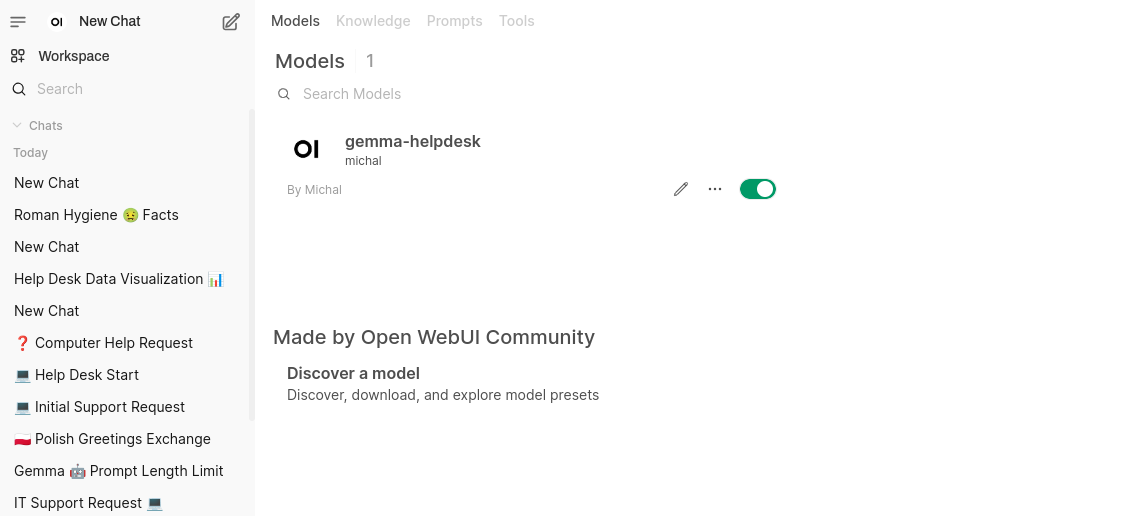
OpenWebUI, Ollama, Automatic1111

To be able to run Mattermost bot you would need server with:

  • Ollama,
  • OpenWebUI (preferable)
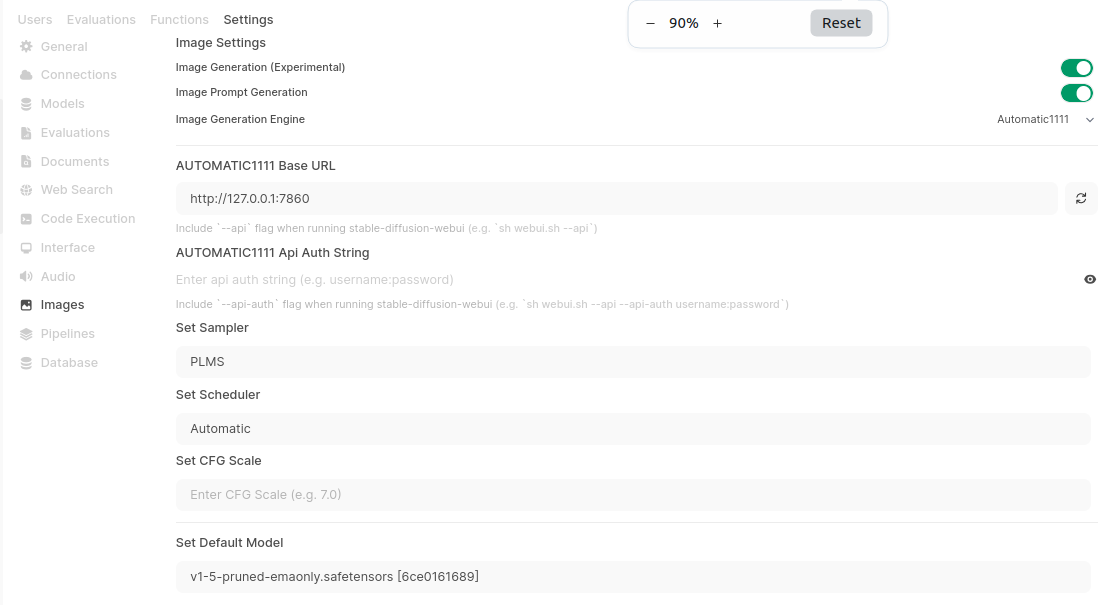
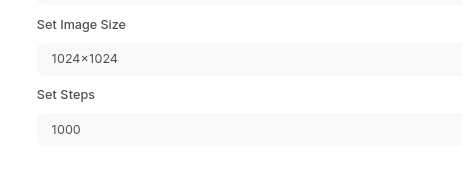
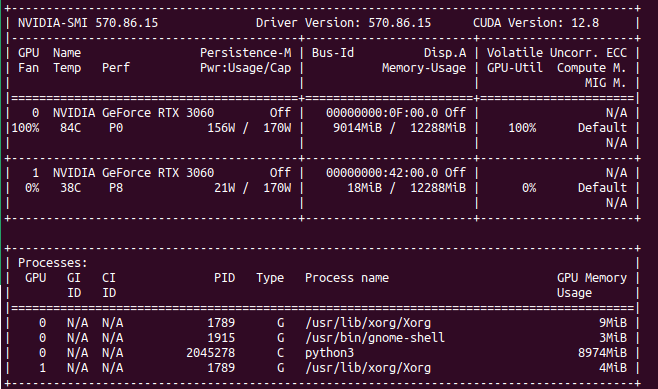
  • Automatic1111 with StableDiffusion integrated

You can refer to my other articles on this website how to install and configure those.

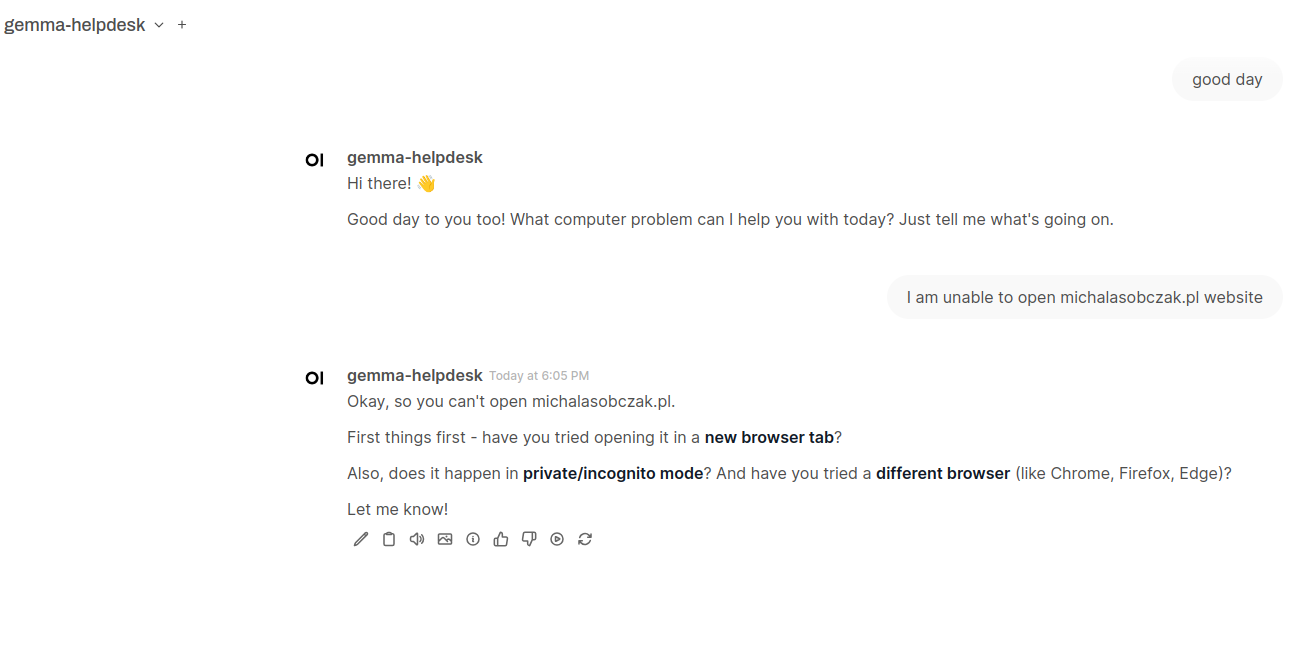
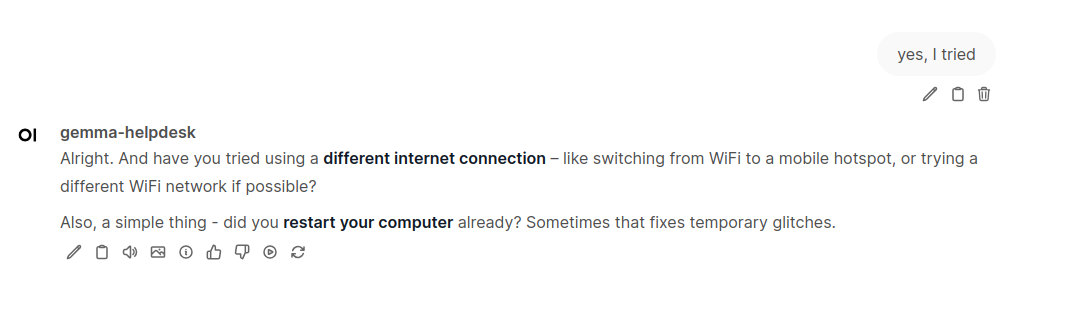
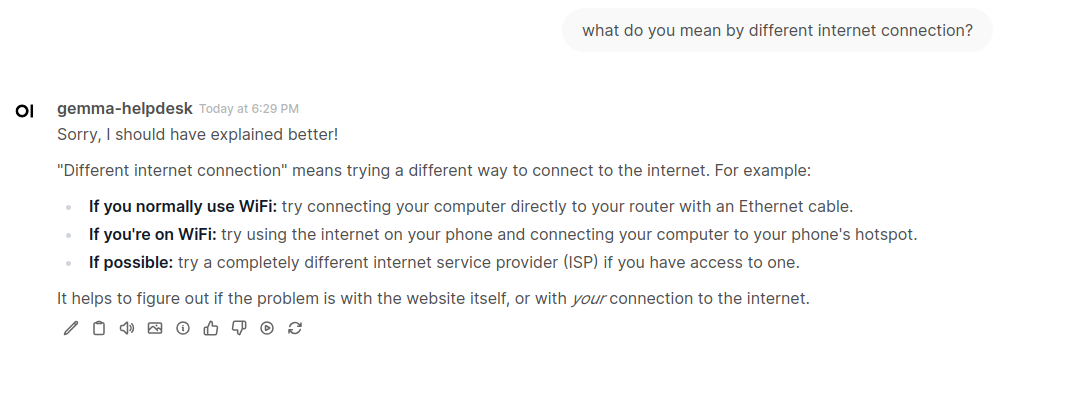
AI chatbot source code

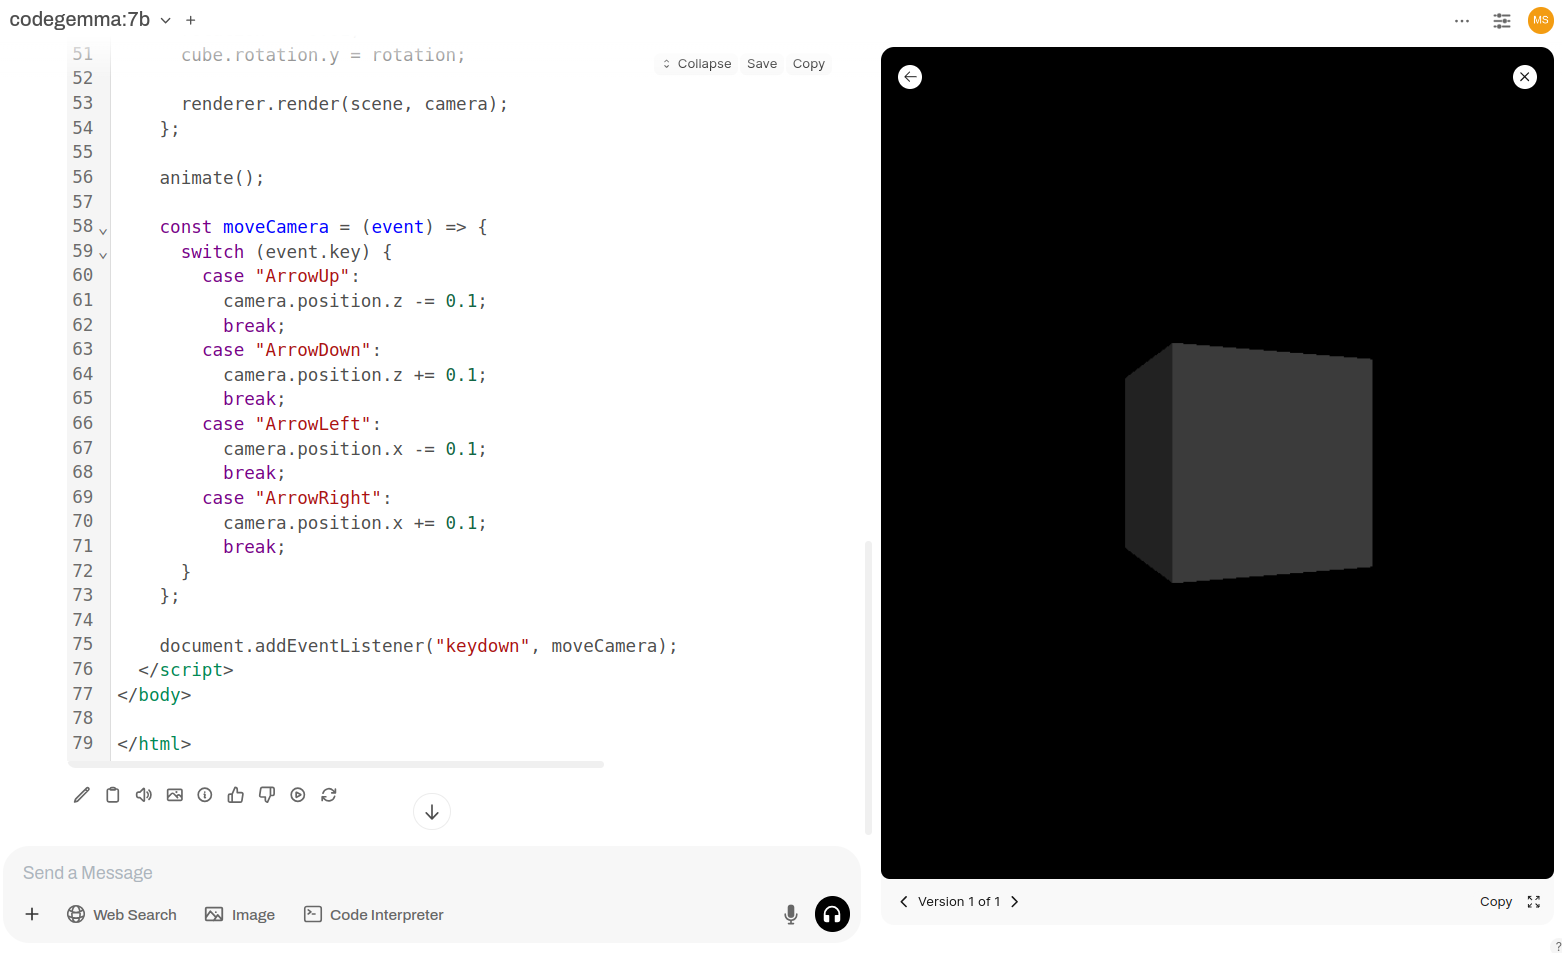
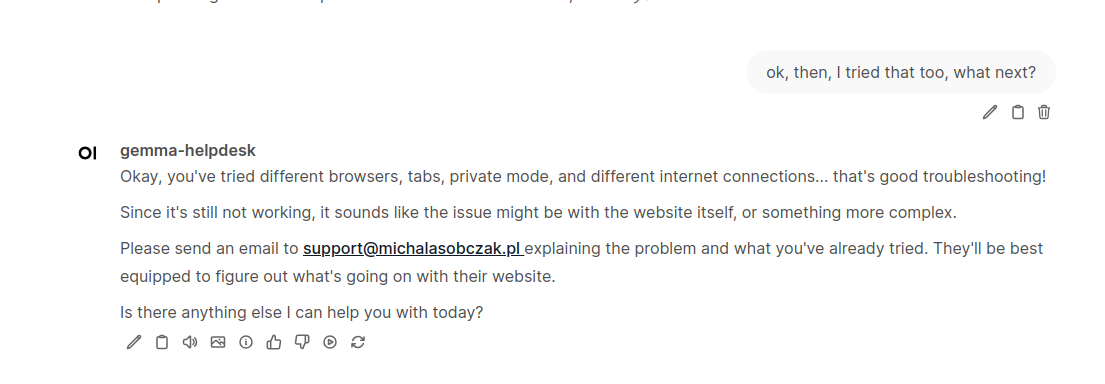
Here is how it works. Just type anything in the channel and you will get response from AI chatbot.

Want chatbot source code?

Well… contact me and we can talk about it 😉 Not only about Mattermost chatbot, but in general about AI integration in your stuff.

Code generation and artifacts preview with WebUI and codegemma:7b

Generate WebGL, Three.JS, HTML, CSS, JavaScript, no Python code, single page with rotating cube, ambient lighting. Load libraries from CDN. Let ambient lighting be as such cube edges are visible. add directional lighting also pointing at the cube. Scene needs to be navigable using arrow keys. Ensure browser compability.

With codegemma:7b you can generate source code. If asked properly then in WebUI chat a artifacts feature will appear, interpreting your source code immediately, just after source code is generated. This feature is useful for designers, developers and marketers who would like to speed-up scaffolding and migrating from brainstorm into visible working result.

You can use visualization libraries, Three.js, D3.js or any other HTML, CSS and JavaScript code. It is important to ask for single-page one-file content with all libraries loaded from CDN. Use words “change” or “update” to modify content or “rewrite”, “redesign” for complete rework.

And here is the source code generated by codegemma:7b:

<!DOCTYPE html>
<html>

<head>
  <meta charset="UTF-8" />
  <title>Rotating Cube with Ambient and Directional Lighting</title>
  <style>
    body {
      margin: 0;
      overflow: hidden;
    }

    canvas {
      display: block;
    }
  </style>
</head>

<body>
  <script src="https://cdnjs.cloudflare.com/ajax/libs/three.js/r134/three.min.js"></script>

  <script>
    const scene = new THREE.Scene();

    const camera = new THREE.PerspectiveCamera(75, window.innerWidth / window.innerHeight, 0.1, 100);
    camera.position.z = 3;

    const renderer = new THREE.WebGLRenderer();
    renderer.setSize(window.innerWidth, window.innerHeight);

    document.body.appendChild(renderer.domElement);

    const geometry = new THREE.BoxGeometry(1, 1, 1);
    const material = new THREE.MeshLambertMaterial({ color: 0x444444 });
    const cube = new THREE.Mesh(geometry, material);
    scene.add(cube);

    const ambientLight = new THREE.AmbientLight(0xffffff, 0.5);
    scene.add(ambientLight);

    const directionalLight = new THREE.DirectionalLight(0xffffff, 0.5);
    directionalLight.position.set(5, 5, 5);
    scene.add(directionalLight);

    let rotation = 0;

    const animate = () => {
      requestAnimationFrame(animate);

      rotation += 0.01;
      cube.rotation.y = rotation;

      renderer.render(scene, camera);
    };

    animate();

    const moveCamera = (event) => {
      switch (event.key) {
        case "ArrowUp":
          camera.position.z -= 0.1;
          break;
        case "ArrowDown":
          camera.position.z += 0.1;
          break;
        case "ArrowLeft":
          camera.position.x -= 0.1;
          break;
        case "ArrowRight":
          camera.position.x += 0.1;
          break;
      }
    };

    document.addEventListener("keydown", moveCamera);
  </script>
</body>

</html>

Ollama, WebUI, Automatic1111 – your own, personal, local AI from scratch

My local toolbox was empty, now it’s full.

Lately I have been writing about Ollama, WebUI and StableDiffusion on top of Automatic1111. I found myself struggling a little bit to keep up with all those information about how to run it in specific environments. So here you have an extract of step by step installation. Starting with NVIDIA driver and some basic requirements:

sudo apt install nvidia-driver-xxx
curl -fsSL https://ollama.com/install.sh | sh
sudo apt install tmux screen 
sudo apt install curl apt-transport-https ca-certificates software-properties-common

Next we go for Docker.

curl -fsSL https://download.docker.com/linux/ubuntu/gpg | sudo gpg --dearmor -o /usr/share/keyrings/docker-archive-keyring.gpg
echo "deb [arch=$(dpkg --print-architecture) signed-by=/usr/share/keyrings/docker-archive-keyring.gpg] https://download.docker.com/linux/ubuntu $(lsb_release -cs) stable" | sudo tee /etc/apt/sources.list.d/docker.list > /dev/null
sudo apt update
sudo apt install docker-ce -y

Ollama, but with binaries instead of Docker container. It will be much easier, and does not require installing Docker extensions for GPU acceleration support:

curl -fsSL https://ollama.com/install.sh | sh

If running Ollama on different server, then need to modify Ollama’s service file to add proper environment variable, which is /etc/systemd/system/ollama.service:

[Service]
Environment="OLLAMA_HOST=0.0.0.0:11434" 

Then reload service definition and restart Ollama:

systemctl daemon-reload
systemctl restart ollama

To install Open WebUI we just start new container passing Ollma URL as follows:

sudo docker run -d --network=host -v open-webui:/app/backend/data -e OLLAMA_BASE_URL=http://127.0.0.1:11434 --name open-webui --restart always ghcr.io/open-webui/open-webui:main

Automatic1111/Stable Diffusion will be installed natively using Python 3.10, so in case of using Ubuntu 24 we need to add specific repository and install this particular version of Python.

sudo add-apt-repository ppa:deadsnakes/ppa -y
sudo apt install python3.10-venv -y
git clone https://github.com/AUTOMATIC1111/stable-diffusion-webui
cd stable-diffusion-webui
python3.10 -m venv .
./webui.sh --api --api-log --loglevel DEBUG

And basically that’s it. All things should be now present and running which is:

  • NVIDIA driver
  • Ollama server
  • Open WebUI in Docker container
  • Automatic1111 / Stable Diffusion in Python venv

For Ollama the minimum requirement of NVIDIA Compute Capability (based on experiments) is 5.0+. So NVIDIA 940MX 2GB will work as well as RTX 3060 12GB of course. WebUI does not put any specific requirements. Automatic111 uses Torch:

“The current PyTorch binaries support minimum 3.7 compute capability”

So in theory both Ollama and Automatic1111 should work on CC somewhere around 5.0. On my 940MX both loaded but Stable Diffusion default model requires around 4GB of VRAM so it does not fit. Actually prefered minimum GPU is Turing CC 7.5+, RTX 20xx as those support 16-bit by default and got built-in tensor cores.

Custom Gemma AI system prompt to create own chatbot experience

I want to create custom chatbot experience. I want to be based on Google’s Gemma AI Large Language Models. I find Gemma3, especially 27b version very capable while problem solving. It has been trained on such data that I find it interesting. I will use Open WebUI to create custom “model hat” and provide chatbot experience

TLDR

In order to create your own chatbot, only 3 steps are required:

  1. Pull origin model
  2. Define custom hat model atop on origin model
  3. Specify System Prompt and other features

To create own chatbot experience I can use System Prompt feature which is core part of model itself. Running on Ollama, Gemma3:27b is actually a 4-bit quantized version of full 16-bit non-quantized model weights. Furthermore it means that GPUs without FP16 support will force model to be run in 32-bit mode increasing memory consumption. It is closed-loop, because older GPUs without FP16 will have less memory to lack of support will amplify the problem.

Effective number of context tokens in Gemma2 or Gemma3 varies between 8k and 128k. This value holds space for system prompt, user prompt ans response. In case context window is exceeded, engine should crop it.

How to create own model hat to serve as chatbot

To create own “model hat”, which is actually system prompt you can use Web UI. Go to workspace – models.

You can define then System Prompt and other features like filters and actions:

Your are good to go.

Conversation

So I created new chat, selected my newly created model and started conversation.

I said that I cannon open some website. It answered with some predefined suggestions, like opening it in new browser tab, in private mode or in different browser. i then continued with confirmation that I have tried indeed:

I can go outside of predefined scenario and ask additional questions. This time we utilize unbiased potential of Gemma:

In the end, if we are left with no other options, we suggest contacting support via email:

Please note that support email which Gemma suggested is not real and it has been fantasized.

Generate images with Stable Diffusion, Gemma and WebUI on NVIDIA GPUs

With Ollama paired with Gemma3 model, Open WebUI with RAG and search capabilities and finally Automatic1111 running Stable Diffusion you can have quite complete set of AI features at home in a price of 2 consumer grade GPUs and some home electricity.

With 500 iterations and image size of 512×256 it took around a minute to generate response.

I find it funny to be able to generate images with AI techniques. Tried Stable Diffusion in the past, but now with help of Gemma and integratino with Automatic1111 on WebUI, it’s damn easy.

Step by step

  1. Install Ollama (Docker), pull some models
  2. Run Open WebUI (Docker)
  3. Install Automatic1111 with stable diffusion

Prerequisites

You can find information how to install and run Ollama and OpenWebUI in my previous

Automatic1111 with stable diffusion

Stable Diffusion is latent diffusion model originally created in German universities and later developed by Runway, CompVis, and Stability AI in 2022. Automatic1111 also created in 2022 is a hat put atop of stable diffusion allowing it be consumed in more user-friendly manner. Open WebUI can integrate Automatic1111, by sending text requests to automatic’s API . To install it in Ubuntu 24 you will be to install Python 3.10 (preffered) instead of shipped with OS Python 3.12:

sudo apt install git software-properties-common -y
sudo add-apt-repository ppa:deadsnakes/ppa -y
sudo apt install python3.10-venv -y
git clone https://github.com/AUTOMATIC1111/stable-diffusion-webui && cd stable-diffusion-webui
python3.10 -m venv venv
./webui.sh

As you can see one uses venv. If your Ubuntu got only Python 3.11 then you are good to go with it. I start Automatic1111 with some additional parameters to help me with debugging things:

./webui.sh --api --api-log --loglevel DEBUG

Open WebUI integration

Go to Admin setting and look for “Images”:

Enable image generation, prompt generation and select Automatic1111 as engine. Enter Base URL with should be http://127.0.0.1:7860 by default, in case you run WebUI and Automatic1111 on the same machine. Next are sample, scheduler, CFG scale and model.

I find last two parameters, the most important from user-perspective. Those are image size and number of steps. The last one sets iterations number for diffusion, noise processing. The more you set, the longer it takes to accomplish. Image size also seems to be correlated with final product as it implies how big the output should be.

1000 iterations

Set number of iterations to 1000 and asked to generate visualization. It took around 30 minutes and grew up to 9GB of VRAM.

Result is quite intesting. But I’m not exactly sure what I am looking at. Is it one image or are these two images combined? Frankly speaking, I can wait even and hour to get something useful. Back in 2023 and 2024 I tried commercial services to generate designs and they failed to accomplish even simple tasks. So instead of paying 20 USD or so, I prefer to buy GPU and use some home electricity to generate very similar images. This is just my preference.

Conclusion

I am not going to pay OpenAI. These tools provide much fun and productivity.