Mounting SSD drive as swap in VM

First of all this SSD drive which I use is somehow faulty. It is a Goodram SSDPR-CX400-01T-G2 drive of 1TB. It have been working fine for few weeks until some construction worker made a electric short causing some abnormal frequences in wires resulting a faulty drives and memory sticks. One of victim was this drive:

  • in CrystalDisk it is reports as good,
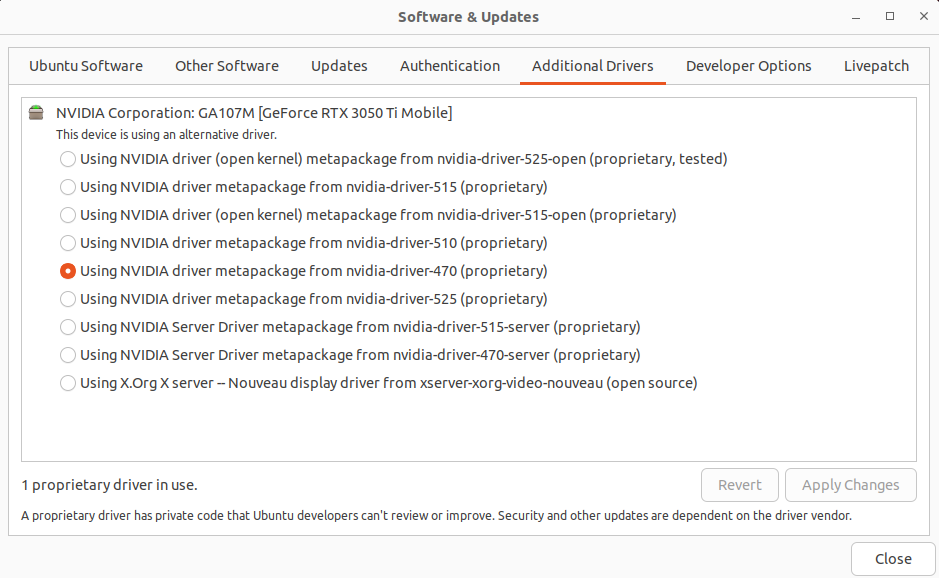
  • but in Ubuntu disks utility it supposedly has 1 bad block
  • badblocks -svt 0x00 /dev/sdX shows no bad blocks
  • zeroing with dd and veryfing with cmp is fine

    This drives for sure has some issues as at least one of tools shows that it as a problematic badblocks. Second of all in regular use it fails to run VM. It once switched into read-only mode in VM filesystem then after formatting it it refused to restore VM from backup. So last thing in which it might be useful is being storage for swap:

    mkswap -c /dev/sdX
    swapon /dev/sdX
    

    Then in /etc/fstab:

    /dev/sdX none swap sw
    

    I set it in VM as 256 GB drive, why? Because I encountered some leaking Ruby libraries in my project and program required way more memory than it should have actually require, so the temporary solution is to increase available memory by adding such a huge amount of swap.

    Failed to load library libOpenCL.so.1

    Today I came back to my OpenCL project (can be found here). I have had not tried it on my fresh Ubuntu 22 installation on my Dell g15 with RTX 3050 Ti. Altough I’ve got NVIDIA driver metapackage installed my program reported that there is some problem with shared library:

    You can check if the driver is selected in system About window. So there it is in my case, but nvidia-selector command reports that I have nvidia-driver-525 which is weird as drivers tab says I have installed driver 470. On the other hand, running nvidia-smi command says I have enable driver 470. Weird.

    I came across some solution which says that I should install libopencl-clang-dev:

    sudo apt install libopencl-clang-dev
    

    I restarted IntelliJ IDEA 2022.3 Community Edition and even proceeded with system reboot to no avail, still the same issue. Next thing to check is libOpenCL library symlink looking for missing either symlink itself or target files:

    ls -la /usr/lib/x86_64-linux-gnu/ | grep libOpenCL
    

    I have both.

    Finally I found a post stating that I should have ocl-icd-opencl-dev:

    sudo apt-get purge ocl-icd-opencl-dev
    sudo apt-get autoremove # this could be risky however
    sudo apt-get install ocl-icd-opencl-dev
    

    And voilà I got it working. However I have only GPU recognized, no CPU on the list of available devices. That is weird but most probably I should install some Intel SDK or at least their libraries to have it working also for CPU. NVIDIA package do not provide runtime for CPU. Now I remember that for book project I have been running it on Windows instead of Linux…

    pg gem on Ubuntu 22

    I thought that installing pg gem on my clean Ubuntu 22 will be easy, but no. I got some weird message:

    The following packages have unmet dependencies:
     libpq-dev : Depends: libpq5 (= 14.5-0ubuntu0.22.04.1) but 15.1-1.pgdg22.04+1 is to be installed
    E: Unable to correct problems, you have held broken packages
    

    So I tried to force installation:

    sudo apt-get install libpq5=14.5-0ubuntu0.22.04.
    

    After this:

    sudo apt install libpq-dev
    sudo gem install pg
    

    On this Ubuntu 22 release installing Ruby interpreter from packages you got 3.0.2p107. The problem might be because of pgadmin4 which I installed before, so it could break something.

    SMB shares on Ubuntu 22 server

    SMB shares can be created either with UI on a desktop version or command line on a server installation. You can use this shares both on Linux stations and Windows boxes as well. We are going to create editors group and add current user to this group. Share location is under /data folder which is owner by editors group who’s participants can read and write to this shares folders.

    sudo apt-get install samba -y
    # edit /etc/samba/smb.conf and set your workgroup name
    # ...
    sudo mkdir /data
    sudo groupadd editors
    sudo usermod -aG editors $USER # current user
    sudo chgrp -R editors /data
    sudo chmod -R g+rw /data
    

    Now once again edit smb.conf file to add a share configuration:

    [DATA]
    path = /data
    valid users = @editors
    browsable = yes
    writable = yes
    read only = no
    

    Restart smbd service:

    sudo systemctl restart smbd
    

    And the last thing is to map system users to SMB users:

    sudo smbpasswd -a SOMEUSER
    sudo smbpasswd -e SOMEUSER
    

    Reinstalling GRUB

    In one of my previous posts I mentioned some troubles regarding reinstalling Ubuntu 22, loosing ability to select OS and to boot at all actually. I found that Ubuntu 20 recognizes properly my fresh Windows installation but Ubuntu 22 does not. So I stayed with version 20 however here was no OS selection, which translates to broken GRUB installation. After Ubuntu 20 installation finished it tried to put bootloader but failed to do this because of drives numbering. My first drive in Lenovo Thinkpad T420s is mSATA but computer and operating system thinks that this is my second drive. My actual second drive is SSD located in regular drive bay. So, this is something that developers have not cover properly.

    However you can fix this but booting Ubuntu 20 from USB/CD media and try live session. Open terminal and mount installed Ubuntu filesystem and then chroot into it.

    mkdir /mnt/newroot
    mount /dev/sdXY /mnt/newroot
    mount --bind /proc /mnt/newroot/proc
    mount --bind /sys /mnt/newroot/sys
    mount --bind /dev /mnt/newroot/dev
    chroot /mnt/newroot
    grub-install /dev/sdX # put only drive letter and not partition number
    update-grub # see whether it recognized all operating systems
    exit
    reboot
    

    Then go to BIOS/UEFI and put your drive with /dev/sdX on first boot place before other drives. You can leave USB/CD/Network boot before, but do not put there other drives as they might also have bootsectors filled with bootloaders. Now after reboot, you see GRUB with OS selection.

    Windows/Ubuntu dual boot issues

    I have dual boot on my Lenovo Thinkpad T420s, Windows 10 and Ubuntu 22. Actually I had, because I tried to reinstall Ubuntu 22 and I’ve lost my dual boot and ability to boot at all. So I tried few things:

    • reformat manually EFI and root partitions
    • os-prober and update-grub
    • setting root and prefix at grub rescue
    • grub-install
    • Windows installation troubleshooting

    Unfortunately it does not work. Something went terribly wrong. To bring back Windows first boot from installation media and go for command prompt:

    diskpart
    list disk
    sel disk X # select disk with Windows installed
    list partition
    sel partition Y # select boot partition
    detail partition # in case Active is set to No then...
    active
    exit
    

    This way I was able to boot into Windows once again, but unable to do it from grub and unable to boot Ubuntu any more. I also tried the following:

    bootrec /fixmbr
    bootrec /fixboot # does not work
    bootrec /rebuildbcd
    

    So I decided to reinstall Windows as I keep only Office, Typora and Fruity Loops there so will be easy to bring it back. After Windows reinstallation I tried to install Ubuntu one more time, but… there is no option for dual boot installation! Why? I do not know for now.

    Ubuntu resize LVM

    During installation Ubuntu will create LVM with half of the space available. In order to expand it to whole space available you need to extend logical volume and expand file system as follow:s

    lvextend -l +100%FREE /dev/maper/ubuntu--vg-ubuntu--lv
    resize2fs /dev/mapper/ubuntu--vg-ubuntu--lv
    

    Allow .local domain suffix to be resolved

    On many chances you may need to configure some domains using .local suffix. Unfortunately this is covered by RFC 6762 (multicast DNS). On specific Linux distributions you will not be able to resolv such domains using DNS server you set either in the machine or in the cloud settings (for instance Azure).

    How to you know that the DNS query is not reaching your desired DNS server? In case you use named, then first enable query logging by the following comman:

    rndc querylog on

    Now DNS queries from the clients who set that particular DNS server as its resolved will be visible in system logger file, like /var/log/messages. Then try to make a ping or curl to the desired domain address with .local suffix and check if it appears in the DNS server log. You can also force DNS query to reach that DNS server by using dig command:

    dig yourdomain.local @yourdnsserver

    If it’s present in DNS server log file then you’re confident that if you reconfigure your client machine it will work properly. To do this on Ubuntu 20 few things are required. First one is to have IP configuration fixed (some yaml file in /etc/netplan/ directory):

    network:
        ethernets:
            eth0:
                dhcp4: no
                addresses:
                - 10.99.99.10/24
                gateway4: 10.99.99.1
                nameservers:
                  addresses: [10.99.99.20]
                dhcp4-overrides:
                    route-metric: 100
                dhcp6: false
                match:
                    driver: hv_netvsc
                    macaddress: 60:45:bd:94:4a:85
                set-name: eth0
        version: 2
    

    And also as suggested in the netplan configuration file, to disable cloud init feature create file in /etc/cloud/cloud.cfg.d/99-disable-network-config.cfg with the following content:

    network: {config: disabled}

    Then reapply network configuration:

    sudo netplan try

    For me, personally, it is sometimes overcomplicated as comparing to CentOS distribution. Now with the fixed settings that should not be overwritten by some other processes you can proceed with disabling local DNS stub listener:

    cd /etc/
    sudo ln -sf ../run/systemd/resolve/resolv.conf
    cd /etc/systemd/
    sudo sed -i -e 's/#DNSStubListener=yes/DNSStubListener=no/' resolved.conf
    sudo systemctl restart systemd-resolved

    You can put your own desired DNS server in the /etc/systemd/resolved.conf file. After all of these operations try ping, curl or wget with your .local domain and check if this query appears in the DNS server log file.

    Package is in a very bad inconsistent state

    Aborting Ubuntu packages update via Ansible gave me some weird state of libatk-wrapper-java-jni package. My playbook installs default-jre and it was painfully slow so I thought that there is some lockup, but there was not. My VM performed poorly at that moment, probably due to the fact that it came from a HDD with badblocks which got migrated to another one. It just works, but I’m not 100% sure if it is healhty. So… in case you have some broken package installation try:

    sudo apt-get install --reinstall libatk-wrapper-java-jni

    And now you are good to go with autoclean, update and possibly upgrade to check whether really there is no problem still dangling on your system. On mine, it is fine now.