Generating AI video with FramePack

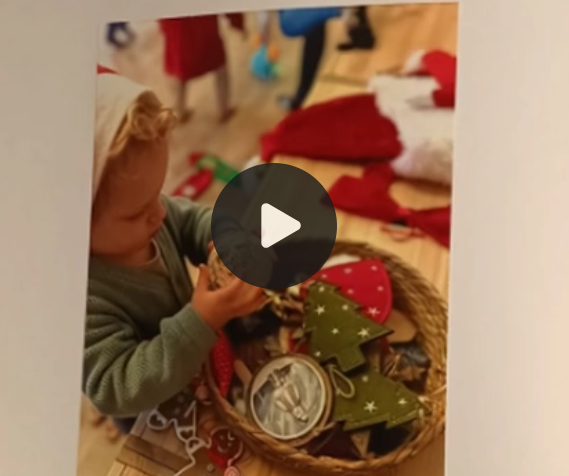
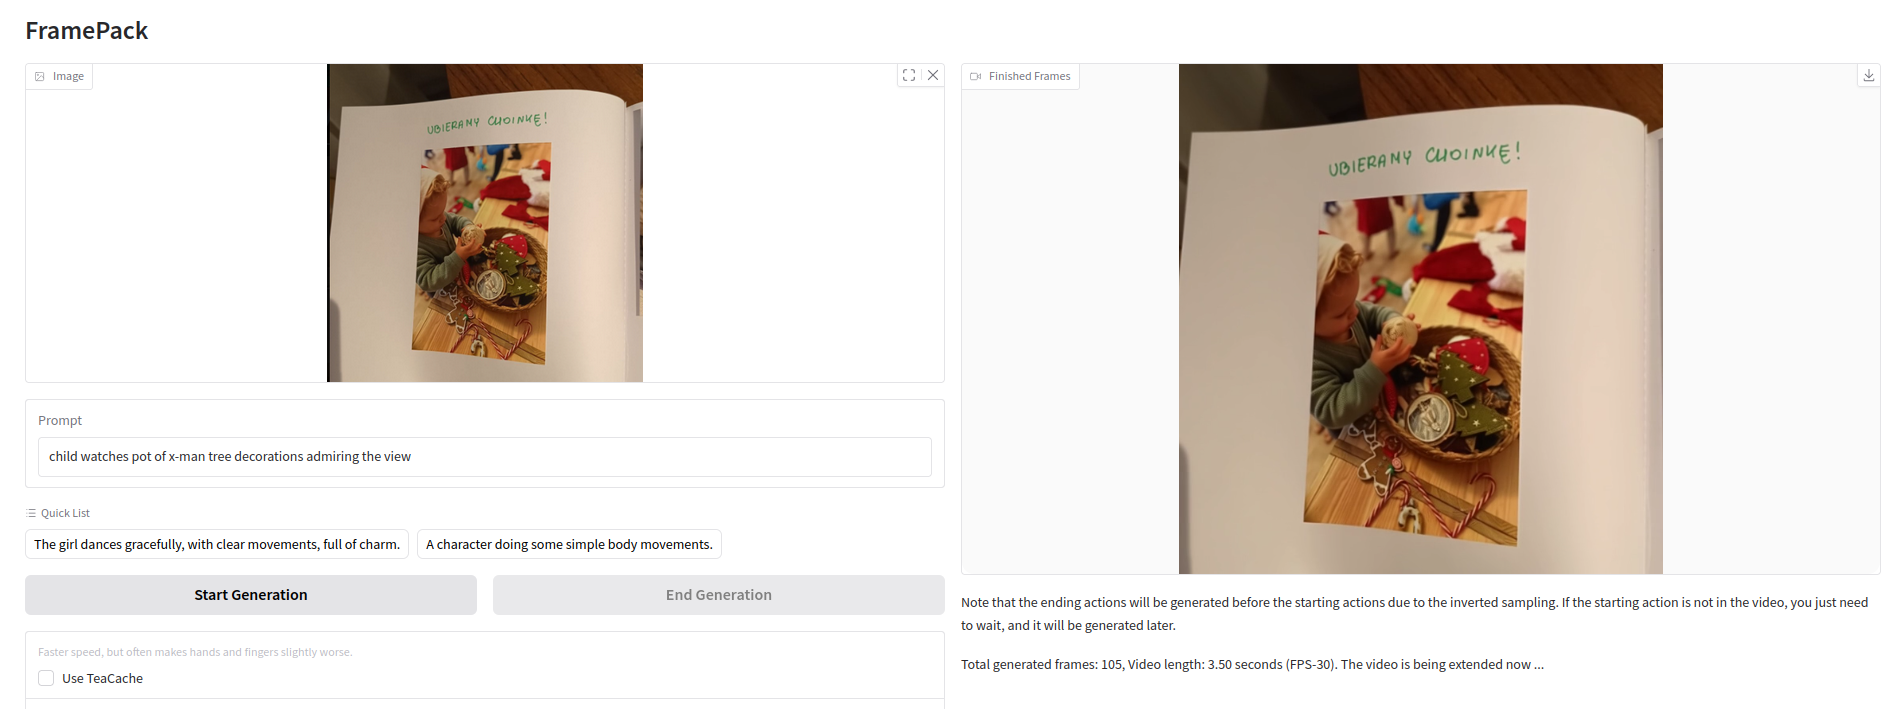
Upload image, enter text prompt and press Start Generation. It is as easy as it looks like.

So we take some pre-trained models, feed it with some text prompt and starting image and things happen on GPU side to generate frame by frame and merge it into motion picture. It is sometimes funny, creepy but every time it is interesting to see live coming into still pictures and making video out of them.

User Interface

On the left you upload starting image and write prompt below it describing what it should look like in video output.

Once started, do to leave application page as the generation process will disappear. I cannot see any option to bring back what it is running in the background. Maybe there is option I am not aware of.

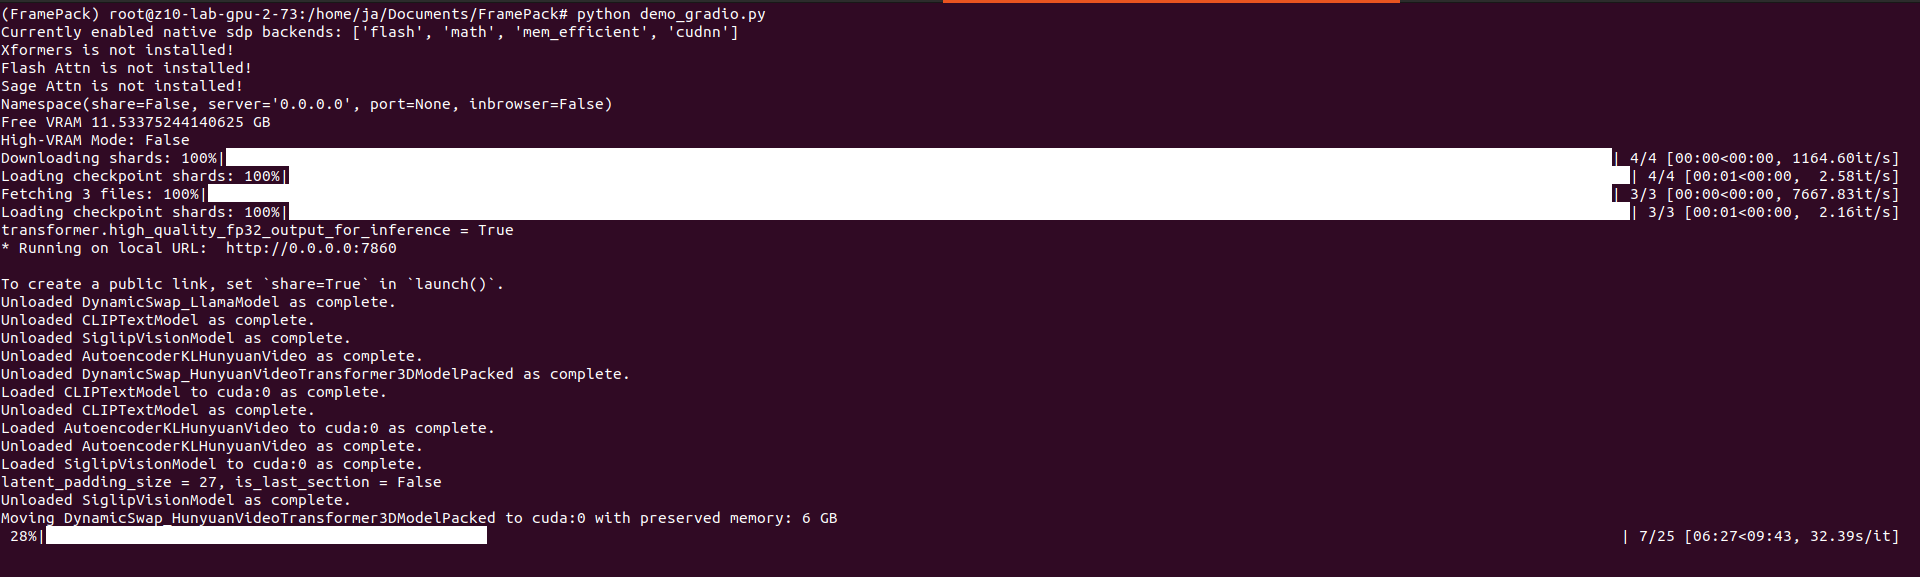
Video generation process

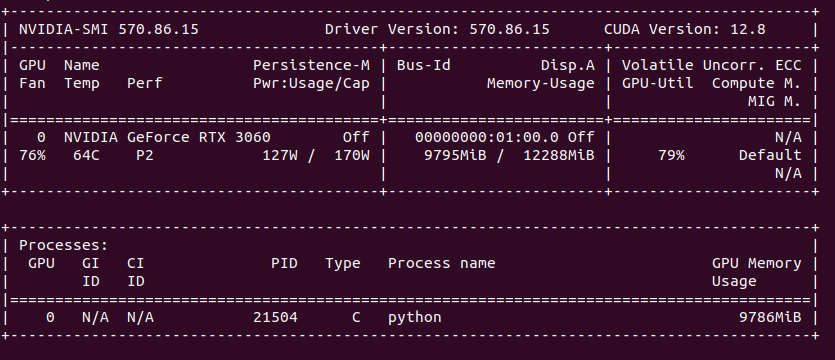
Processing takes place on GPU. Need to have at least RTX 30xx and above on Linux/Windows platform. The more powerful your GPU is the fastest you will get frames generated. Single frame takes from few seconds up to one minute. To speed up (with a cost of lower details and more mistakes) you can use TeaCache.

You can provide seed and change total video length, steps, CFG scale, GPU preserved memory amount and MP4 compression. From the system point of view, I assiged 64 GB of RAM to VM and FramePack ate over 40 GB, but proceeds only on 1 vCPU. Not entirely sure how it would positively impact performance, but I support it would if supporting proper multiprocessing/multithreading.

On my RTX 3060 12GB single 1 second generates around 10 – 15 minutes as each second is made of 30 frames which is not exactly configurable. It seems (although not confirmed) that model has been pre-trained to generate 30 FPS (that info can be found in their issue tracker).

My VM setup suffers from memory latency, which is noticeable comparing to bare metal Ubuntu installation. Still I prefer to do this VM-way, because I have much more elasticity in terms of changing environments, systems and drivers which then would be quite difficult, cumbersome to archieve with bare metal system. So any performance penalty coming from virtualization is fine for me.

Installation

Be boring part. First start with installing Python 3.10:

sudo apt update
sudo apt install software-properties-common -y
sudo add-apt-repository ppa:deadsnakes/ppa
sudo apt update

Then clone repository and install dependencies:

https://github.com/lllyasviel/FramePack.git
pip install torch torchvision torchaudio --index-url https://download.pytorch.org/whl/cu126
pip install -r requirements.txt

Prepare FramePack repository in virtual environment:

python3.10 -m venv FramePack
source FramePack/bin/activate

I got one error during torchvision installation:

torch 2.7.0+cu126 depends on typing-extensions...

This problem can be mitigated by:

pip install --upgrade typing-extensions

And then you are good to go:

python demo_gradio.py

UI will start on http://127.0.0.1:7860/

GPU pass-thru in Proxmox 7 and Ubuntu 20, follow-up

In previous article about GPU pass-thru which can found here, I described how to setup things mostly from Proxmox perspective. However from VM perspective I would like to make a little follow-up, just to make things clear about it.

It has been told that you need to setup q35 machine with VirtIO-GPU and UEFI. It is true, but the most important thing is to actuall disable secure boot, which effectively prevents from loading NVIDIA driver modules.

Add EFI disk, but do not check “pre-enroll keys”. This option would enroll keys and enable secure boot by default. Just add EFI disk without selecting this option and after starting VM you should be able to see your GPU in nvidia-smi.

That is all.

GitLab service desk with iRedMail: details

In addition to my previous article about GitLab service desk feature with iRedMail I would like to enhance it a little bit my fixing some missing parts. Starting with connecting to PostgreSQL vmail database:

sudo -u postgres -i
\c vmail

Verifying mail server connectivity and TLS issues.

/opt/gitlab/embedded/bin/openssl s_client -connect mail.domain.com:993

GitLab (and iRedMail also) does not allow expired certificates. So be sure to have both root CA present and your certificate valid.

wget https://letsencrypt.org/certs/2024/r11.pem
cp r11.crt /usr/local/share/ca-certificates/
update-ca-certificates

And finally restarting services. Interesting part is that only Nginx do not allow placing R11 root CA before actual certificate. But placing R11 after actual certificate does the job.

service postfix restart
service dovecot restart
service nginx restart

Proxmox 7 pmxcfs failed: recovery without reboot

Failing Proxmox node and unable to access /etc/pve means that you have broken pmxcf.

killall -9 pmxcf
systemctl restart pve-cluster

Analyse which services are stuck:

ps -eo pid,stat,comm,wchan:32 | grep ' D '

Restart services:

systemctl restart pvedaemon pveproxy pvescheduler

And in case it was stuck at updating certs (on which it got stuck in my case):

pvecm updatecerts --force

In case UI is still unavailable:

systemctl restart pvedaemon pveproxy pvescheduler
systemctl restart corosync

In my case, at this point it was fine.

pfSense 2.7.2 with Realtek 2.5GbE ethernet driver

I got 2.5GbE PCI-e card, but no drivers present in pfSense installation. To list devices:

pciconf -lv

There is this Realtek network card:

re0@pci0:4:0:0:	class=0x020000 rev=0x05 hdr=0x00 vendor=0x10ec device=0x8125 subvendor=0x10ec subdevice=0x0123
    vendor     = 'Realtek Semiconductor Co., Ltd.'
    device     = 'RTL8125 2.5GbE Controller'
    class      = network
    subclass   = ethernet

But there is no driver enabled:

pkg info | grep driver
kldstat

I installed realtek-re-kmod-198.00_3 package. It was few months ago, but I am pretty sure that is was from pkg and not by downloading it from some repository manually. Finally add to /boot/loader.conf:

if_re_load="YES"
if_re_name="/boot/modules/if_re.ko"

So you can either download from FreeBSD repository or:

pkg search realtek

Mattermost AI chatbot with image generation support from Automatic1111

How about AI chatbot integraton in you Mattermost server? With possiblity to generate images using StableDiffusion…

So, here is my Indatify’s Mattermost server which I have been playing around for last few nights. It is obvious that interaction with LLM model and generating images is way more playful in Mattermost than using Open WebUI or other TinyChat solution. So here you have an example of such integration.

It is regular Mattermost on-premise server:

Mattermost

First, we need to configure Mattermost to be able to host AI chatbots.

Configure Bot account

Enable bot account creation, which is disabled by default. Of course you can create regular users, but bot accounts have few simplifications, additions which make them better fit to this role.

Now go into Mattermost integrations section and create new bot account with its token. Remember to add bot account into team.

Create new private channel

You would need some channel. I created new private one.

Add bot account to the newly created channel.

Now, you are good with Mattermost configuration. You enabled bot accounts, add it to team, created new channel and added bot account to the channel. Let’s say it is half way.

OpenWebUI, Ollama, Automatic1111

To be able to run Mattermost bot you would need server with:

  • Ollama,
  • OpenWebUI (preferable)
  • Automatic1111 with StableDiffusion integrated

You can refer to my other articles on this website how to install and configure those.

AI chatbot source code

Here is how it works. Just type anything in the channel and you will get response from AI chatbot.

Want chatbot source code?

Well… contact me and we can talk about it 😉 Not only about Mattermost chatbot, but in general about AI integration in your stuff.